Last updated on July 22nd,>>>
How to configure Windows Live writer for Wordpress blogs. Windows Live writer is one of the best offline blogging software.To set up WLW for a blogger blog is simple and straight forward without any hassle, but needs a little work around to set it up and configure for wordpress blogs.
Windows live writer works seamlessly with Word Press and you can directly publish posts from your desktop. Before that I would recommend you to have a look at “5 reasons why a blogger should use windows live writer”
Step by step Guide to Set up and configure Windows Live writer for WordPress Blogs.
1. Before you configure windows live writer for wordpress blogs, you will need to enable XML-RPC publishing option in your word press blog.
To do that, log on to your word press blog as Admin and on the dashboard under the settings > writing > remote publishing > put a check mark on both the “ Enable atom publishing” and “Enable word press, movable type, meta weblog and blogger XML-RPC publishing protocols” as shown in this image. Than log out.
UPDATE: In the Latest Version of WordPress 3+ XML – RPC is enabled by default so you may no longer see the above options. Just follow the next steps.
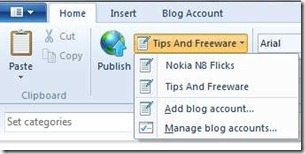
2. Open windows live writer from the Home menu click on “manage Blog” 
As shown in the image here. If you have any other blog, it will be listed here.
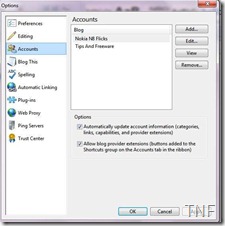
From the Blog management account window as shown here click on “Add” to add a new account.
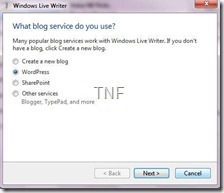
On the next window you will be asked “what Blog service do you use” from the list select “Word press”
And than click on “Next”
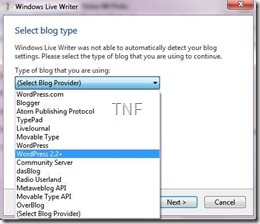
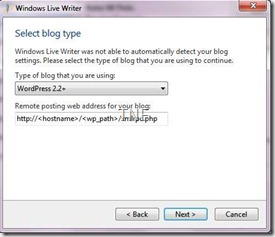
In the next step you will be asked to select the Blog type, from the list select word press 2.2+ and than click next.
This is the most crucial step. In this step under “ Remote posting web address for your blog” it will be shown as
http://<hostname>/<wp_path>/xmlrpc.php
Change this to this
http://<your full blog URL here>/xmlrpc.php
Than click on next.
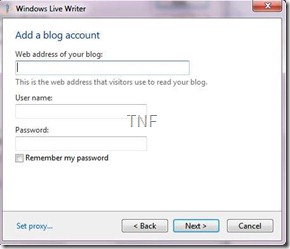
In the next step “Add a blog account” fill in the required fields as indicated. Fill up with the exact user name and password that you use to log on to your wp-admin account.
Check the box next to “Remember my password” so that you need not fill in every time you write and publish a post.
Than click on next button.
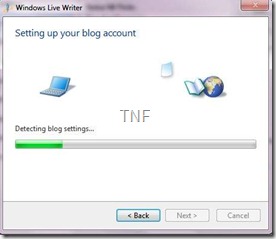
Windows Live writer will automatically log on to your account and download the complete settings of your blog theme. Including the blog content and all the widgets/ plugins that you have installed on your site.
That’s the beauty of this software, so that every time you write a post you can preview it exactly as it would appear on your blog. So that you can edit your post the way you want it to appear.
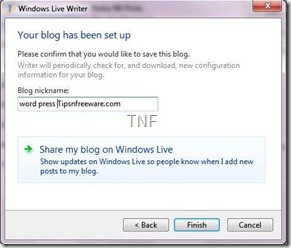
After completing the download which may take a minute or so , you will be asked to give a nick name for your blog as shown below.
Here you can give any nick name you want to give or just leave it with your blog title as the name.This might be necessary if you have many blogs.
With windows live writer you can manage as many blogs you want each with its own blog theme. You just need to set up Windows Live Writer for each Blog separately. Once done click on “Finish” and you are done.
That’s how you can setup and configure windows live writer for wordpress blogs. Unless we enable XML-RPC publishing option in your word press blog, windows live writer fails to download the blog theme and gives a error message.
Hope this post was helpful, specially for the new bloggers setting up windows live writer for word press blog.

Hello! I am Ben Jamir, Founder, and Author of this blog Tipsnfreeware. I blog about computer tips & tricks, share tested free Software’s, Networking, WordPress tips, SEO tips. If you like my post /Tips then please like and share it with your friends.





Keep on writing and cghuging away!
Thanks Israel….