If you have a WordPress site, one of the most crucial steps you can take is verifying it with Google Search Console. This free tool from Google provides invaluable insights into how Google sees and interacts with your website.
By verifying your site, you gain access to a wealth of data that can help you optimize your content, identify technical issues, and drive more organic traffic.
Google Search Console is a direct line of communication with Google. It allows you to submit sitemaps, track keyword rankings, monitor crawl errors, and receive alerts about potential problems hindering your site’s performance.
Without verifying your site, you’re essentially flying blind. You won’t know if Google is having trouble accessing your content if you have broken links, or if your site is mobile-friendly.
This guide provides a comprehensive, step-by-step walkthrough of how to verify your WordPress site with Google Search Console.
We’ll cover several different verification methods, including DNS record verification, HTML tag verification, and Google Analytics verification, empowering you to choose the method that works best for you.
Whether you’re a seasoned webmaster or just starting, this tutorial will equip you with the knowledge you need to successfully connect your site and unlock the powerful tools that Google Search Console offers. By the end of this post, you’ll be well on your way to improving your website’s SEO and attracting more visitors from Google searches.
Google Search Console is a free tool offered by Google to help website owners monitor their website’s presence in Google search results.
:: You get direct access to search engine traffic analysis, bots crawl status ::View and fix indexing problems :: View Google Search traffic data for your site. :: Receive alerts when there are indexing, spam, or other issues on your site. ::Search queries, website security issues. :: AdSense recommends using Search Console tools to improve your site visibility and increase traffic to your site. :: Submit your sitemap and many more. These reports are of tremendous help to improve your site’s performance.
If you are serious about WordPress SEO, then the first thing you need to do is to add and verify your site with the Google search console from day one.
In this guide, you will learn how to easily add and verify your WordPress site in Google Search Console also known as Webmaster Tools.
Having said that, let’s take a look at how to easily add your site to Google Search Console.
Next, you sign in to the Google search console with your Google / Gmail account.
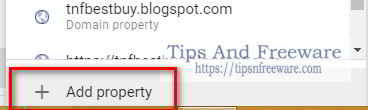
On the webmaster’s tool page:: Click on Add property ( earlier it used to be Add a Site).
Once logged in, you’ll be asked to enter your website URL.
There are two methods for site verification: Domain name or URL prefix. It is recommended to use the URL prefix method because it is more flexible.
Keep in mind that Google considers HTTP and HTTPS as two different protocols. Google considers the following Site address URL of the same website as different websites.
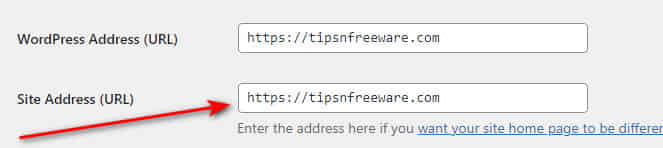
You need to enter the correct Site Address URL used by WordPress.
If you are unsure, then there is an easy way to find out the exact URL you need to enter. Simply log in to your WordPress admin area and go to the Settings » General page.
There you will see your website’s URL in the Site address (URL) field.
After entering your correct website address in the Google webmaster tools setup wizard, click on the ‘Continue’ button to go to the next step.
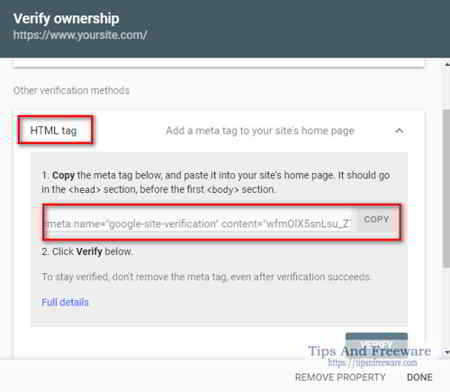
Now, you’ll be asked to verify ownership of your website. There are several ways to do that, but we will show the HTML tag method because it is the easiest one.
Go ahead and click on the HTML tag tab to expand it and then copy the code inside it.
Do Not Log Out of Google Search console Page now keep the page open.
Next, you’ll need to add this Google site verification meta tag to your WordPress site, so that the Google bot can verify that you are the owner of the website.
There are three easy methods to paste the Google verification code into your WordPress site.
Method 1: Paste the tag code in the header.php file of your theme
Many WordPress tutorials may not advise you to paste the tag in the header.php file of your theme. This is because if your theme gets updated the header.php file also gets updated and you lose the verification code.
You can use this method if you are using a child theme. On your WordPress dashboard go to > Appearance > theme editor > click to open the header.php file of the child theme. Paste the HTML tag in the child theme’s header.php file between the <head> and </head> tag and update the file.
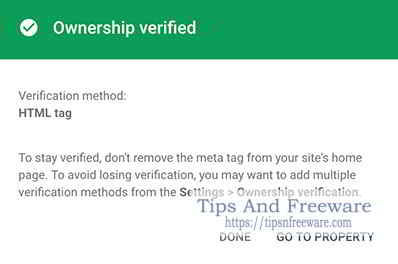
Now go back to the google search console page and click on Verify tab. Google bot will crawl your Blog/website and will display this message “Ownership verified” and you are done.
The advantage of this method is that you don’t need to install any plugin and even if your theme gets updated, the child theme will not change and the Google site verification code will remain.
Since Google periodically checks for the HTML tag and if it cannot find the verification tag, will disable your access to the site data in the search console
Method 2: Using a plugin to inject it into the header
In this method, you will need to install the plugin Insert Headers and footers. After installation launch it.
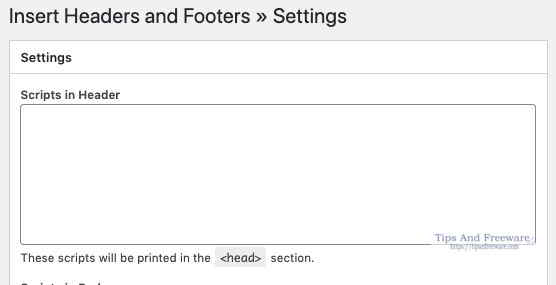
Insert Headers and Footers is a simple plugin that lets you insert code like Google Analytics, custom CSS, Facebook Pixel, and more to your WordPress site header and footer. Without editing a single code of your theme.
The plugin has a very simple interface. In the settings page paste the Google verification code in the box marked as “Scripts in header” then click on save that’s it.
Don’t forget to click on the ‘Save Changes’ button to store your changes.
Now go back to the Google search console page where you copied the HTML tag code earlier and then click on verify. Google Search Console will now look for the HTML tag in your website code and will show you a success message.
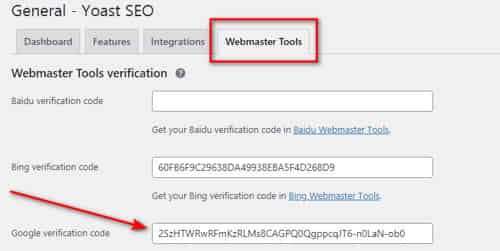
Method 3: Pasting the HTML tag code in the Yoast SEO plugin.
Yoast is a very popular and widely used SEO plugin for WordPress sites. If you have installed the plugin then go to SEO > General > Webmaster tools > and paste the code in the Google verification code box.
Go back to the Google search console and click on Verify.
Conclusion
You can use any of the above three methods you are comfortable with. I prefer the first method, using a child theme. That’s all. You have successfully added your site to the Google Search Console (Webmaster tools). You can now click on the ‘Go to Property’ link to visit your Google Search Console dashboard.
Hello! I am Ben Jamir, Founder, and Author of this blog Tipsnfreeware. I blog about computer tips & tricks, share tested free Software’s, Networking, WordPress tips, SEO tips. If you like my post /Tips then please like and share it with your friends.
We use cookies on our website to give you the most relevant experience by remembering your preferences and repeat visits. By clicking “Accept”, you consent to the use of ALL the cookies.
This website uses cookies to improve your experience while you navigate through the website. Out of these cookies, the cookies that are categorized as necessary are stored on your browser as they are as essential for the working of basic functionalities of the website. We also use third-party cookies that help us analyze and understand how you use this website. These cookies will be stored in your browser only with your consent. You also have the option to opt-out of these cookies. But opting out of some of these cookies may have an effect on your browsing experience.
Necessary cookies are absolutely essential for the website to function properly. This category only includes cookies that ensures basic functionalities and security features of the website. These cookies do not store any personal information.


")


