Last updated on November 14th,>>>
If you have not tried yet, it’s possible to fake HDR effect in Photoshop. Photoshop techniques to create fake HDR photographs that look amazing. These techniques are very easy to apply and can make your photos have more depth than they do normally.
What is an HDR image?
HDR (High Dynamic Range Imaging) is very popular among professional photographers.
HDR photography is a method that allows capturing a greater dynamic range between the lightest and the darkest areas of an image, which normal digital cameras can not capture.
HDR images can represent more accurately the range of intensity levels of light found in real scenes as the eye can see.
But to shoot an HDR image you need to have a high-end camera, A tripod, patients, and of course a lot of time. HDR images usually consist of three images shot in three different exposure values eg. EV 0.0, EV –1 or 2 and EV +1 or 2.
Some photographers take more shots with different EV, depending on the subject.
For the less fortunate ones and a home user, today I would like to share this Photoshop tutorial, how to fake hdr in photoshop, with a single Image file, call it a Fake or Pseudo-HDR image, I’m sure you will enjoy it.
How to Fake HDR in Photoshop
OK fine! let’s get started. Open your image in Photoshop. Results are better if the image is of high quality, preferably larger than 800×600 (results are better).
I am using PS3 however any version of Photoshop will do. I am using this image.( I had to reduce the size of the image to load faster )
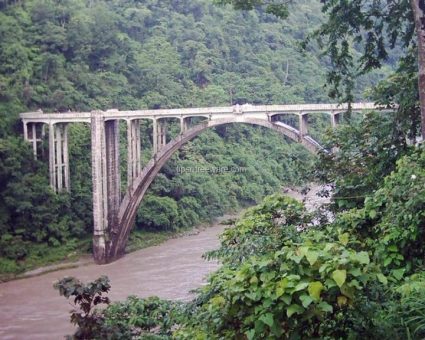
Apply the following effects
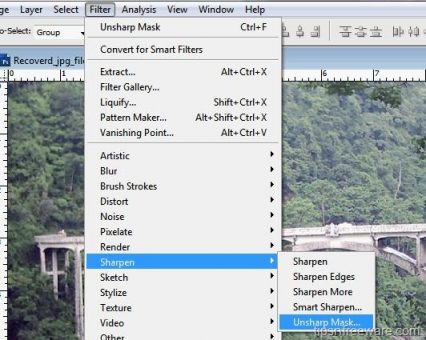
Apply Unsharp mask Filter
Go to Filter – Sharpen – Unsharp mask and put the following value – Amount 40 and Radius 250 pixels, leave the threshold value to default. These values are not fixed, if your image is of lower resolution, reduce these values. Try with different values.
Now Duplicate the layer. You can do that either by right-clicking on the image in the layer pallet and select duplicate layer or press Ctrl+J on your keyboard.
Now Select the duplicate layer, go to Image – Adjustments – Hue and saturation.
Make sure colorize is not selected and put the value of Saturation to –80 (minus 80) and click ok. This will basically remove most colors from your image.
It will look like this.
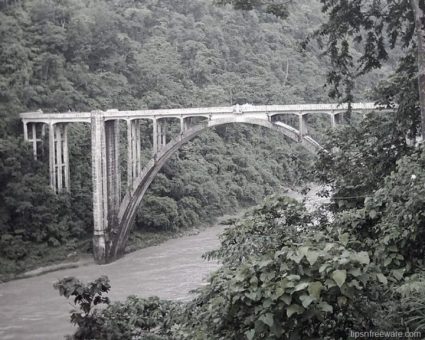
Change the opacity of this layer (the duplicate layer) to 25% and blending mode to “Overlay”
Now go to the Layer menu and select and click on “Merge visible”. You will now have only one layer on your layer pallet.
Now go to Image – Adjustment – Hue, and saturation – make sure colorize is not selected and put a value for saturation to +10. and click OK. ( increase or decrease saturation value according to image resolution).
Make sure that the preview box is checked so that you can see the changes immediately.
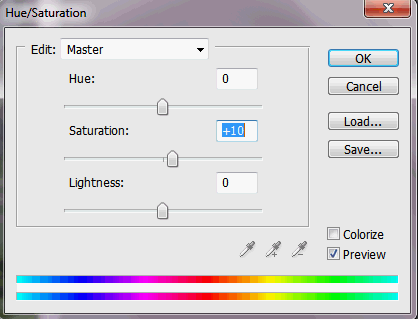
The Final Image of this easy to follow Photoshop technique of faking HDR with a single Image file.
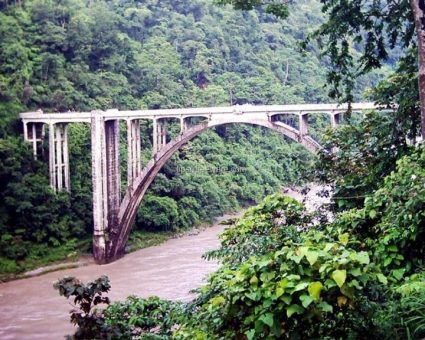
As I said at the beginning of this tutorial, this is a Pseudo HDR done in a few steps in Photoshop. But this method does improve your dull photos to look much better. Try with some of your dull photos, you will see the difference.
And here is the comparison of before and after-effects.
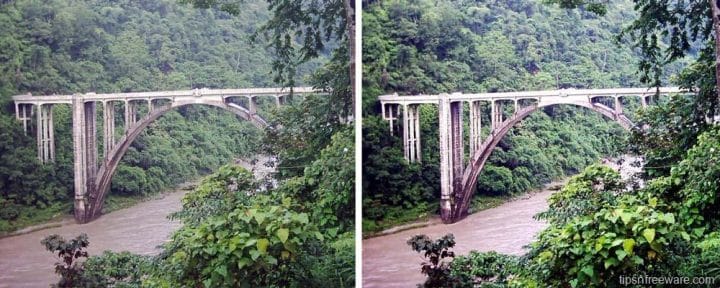
That’s it , how to fake hdr in photoshop. Do you enjoy Photography? if so, have you ever tried shooting Images for HDR? Share with us. Your comments and suggestions are welcome.
Another Example: See the Sharpness and the Vibrant color

MORE PHOTOSHOP TUTORIALS
Photoshop tutorial on Broken Glass Effects.
How to Optimize Images for web in Photoshop
Photoshop Tutorial Text on Fire effect.

Hello! I am Ben Jamir, Founder, and Author of this blog Tipsnfreeware. I blog about computer tips & tricks, share tested free Software’s, Networking, WordPress tips, SEO tips. If you like my post /Tips then please like and share it with your friends.
