Last updated on October 28th, at 08:10 pm
Quickly convert an ordinary image or an Abstract art into a spectacular series of colorful twirl effects in Photoshop easily
This is a simple easy to follow Photoshop Tutorial to make a colorful Twirl Effect in Photoshop. Easy to follow steps, with which you can make a colorful picture that can be used as a background image, as an Icon, as a Logo, or as a Banner.
This Tutorial will show you how to achieve this. Our Final picture will look like this.
Check out: How to create a stunning 3D cut out Text effect in photoshop
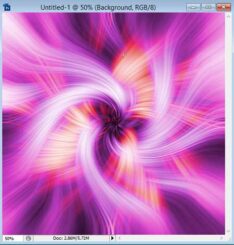
Let’s get started to create colorful twirl effects in Photoshop
::: Step 1: In Photoshop open a new document 1000px by 1000 px resolution at 72. You can choose your own size.
A square image gives a better result. Make sure that the color pallet is at Photoshop default that is foreground color Black and background to white.
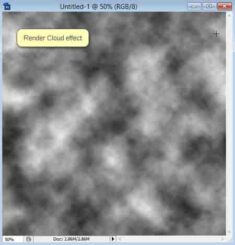
::: Step 2: Now go to filter- Render – clouds. So you get something like this. (shown below)
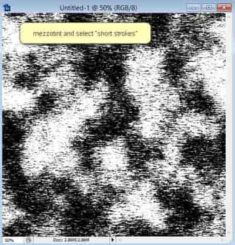
::: Step 3: Now again go to Filter – pixelate – mezzotint and select “short strokes” from the drop-down menu, and you will get something like this.
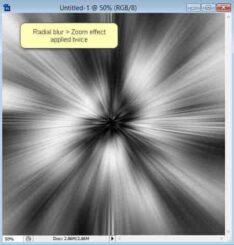
::: Step 4: Now go to Filter Blur – Radial blur and apply Amount to 100, Blur method to “zoom” and quality to “Best” then click Ok. Apply this effect Twice, so that you get something like this.
::: Step 5: Next go to Filter – Distort – Twirl – set the angle to 120. and click OK So you get something like this.
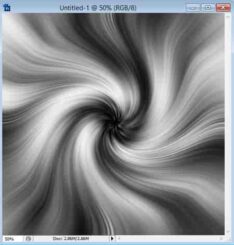
::: Step 6: It looks very boring at this stage.
Duplicate this layer by going to the layer pallet right-clicking and “Duplicate Layer”. Now select the top layer that is your duplicated layer and set the Blending option to “Lighten”
::: Step 7: With your duplicate layer still selected go to filter – distort- Twirl – and this time set the angle to –180 and click OK. So you get something like this.
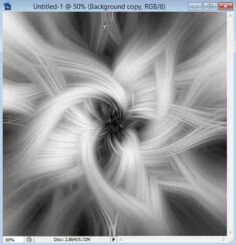
::: Step 8: Now it looks good. Now to apply some color to these two layers to make it a colorful Twirl.
To do that, first, make sure that the duplicated layer is selected then go to Image – adjustment –Hue/saturation. Make sure to check the “Colorize” option and play with the Hue and saturation slider to get the desired color of your choice
Do the same with the other layer also ( the original layer) make some contrasting colors to make it more colorful
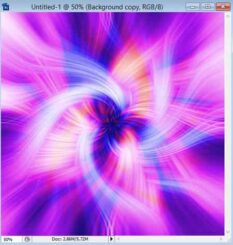
::: Step 9: This is what I ended up with. Beautiful twirl effect. It can be of any size with hundreds of different color combinations, just play around with the hue/saturation slider.
Check out: How to realistically change hair color digitally in Photoshop
Pro-Tip
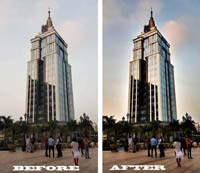
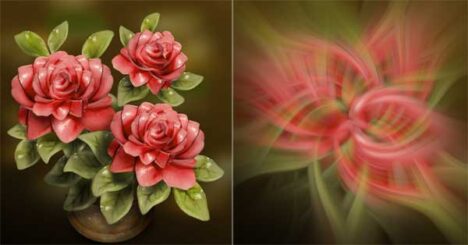
You can also use any image preferably squire in shape and create a beautiful twirl effect in Photoshop. Just omit steps 1 to 3. Example

Hello! I am Ben Jamir, Founder, and Author of this blog Tipsnfreeware. I blog about computer tips & tricks, share tested free Software’s, Networking, WordPress tips, SEO tips. If you like my post /Tips then please like and share it with your friends.
