Last updated on November 15th,>>>
Creating a local WordPress site on your computer helps you to test themes, plugins, and website functionality without impacting your live site. You can make changes to your WordPress site before implementing the changes to your live site.
Install and create a local WordPress site on your computer using XAMPP. XAMPP is a free and open-source software package that provides a user-friendly platform for setting up a local WordPress instance.
This is a step-by-step guide on how to easily create a local WordPress site on your PC using XAMPP.
Page Contents
Advantage of having a local WordPress site
If you already have a WordPress website or a blog, then it’s a good idea to create a local copy of your website on your computer.
This will make it easy to try out new themes and plugins before implementing them on your live website.
You can try different WordPress themes or make changes to your current theme, add custom CSS and do about anything you want to without touching a single code on your live site.
Please note Local WordPress website will only be visible to you on your computer. You can test plugins, customize your theme before applying the changes to your live site.
Check out: WP Super cache optimal settings for WordPress site
Lets now get started on how to create a local WordPress site with XAMPP
What is XAMPP?
XAMPP is free software that helps you create a local server on your computer. It contains all the things that you need to set up a web server software PHP, and MySQL on your computer.
XAMPP is a software package that makes it easy to build a WordPress website locally which otherwise would have been difficult.
First Install XAMPP on your computer
Go to XAMPP website and download the software. XAMPP is available for Windows, Linux and OS X. Depending on your operating system download the appropriate version.
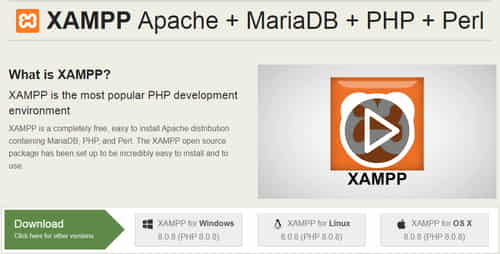
After downloading click on the installer to start the installation process.
Depending on your OS, the installation wizard and the application interface of XAMPP may differ. The screenshots shown here are for the Windows version of the software. However, it should be similar on other versions also.
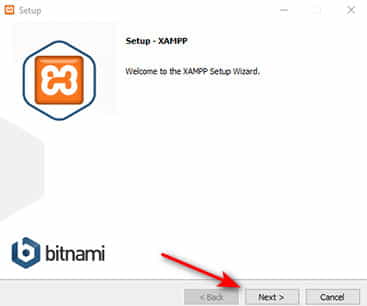
Under setup-XAMPP screen click on the “Next” button
The installation wizard will ask where to install the software and which packages you would like to install. No need to select anything here the default settings is best and will work for most users.
Just keep clicking the Next button to finish the setup wizard
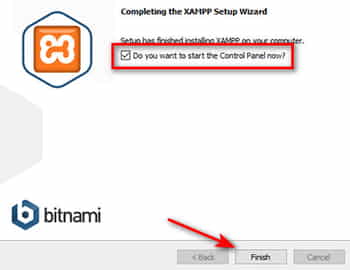
After the installation process has been completed, XAMPP will display “Do you want to start the Control Panel?” click on the box next to it and then click on “Finish”
XAMPP control panel app will start. As described earlier with XAMPP app you can run Apache web server as your local server and MySQL as your database server.
On the XAMPP control panel click on the Start button on both Apache and MySQL.
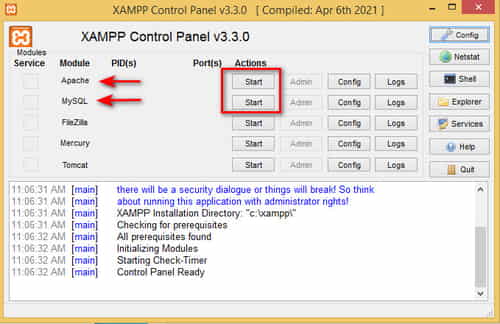
On clicking the start button you might get a Windows firewall notification warning, this is normal it’s important that you click on the “Allow Access” button to allow the applications to run on your computer.
XAMPP will now start Apache and MySQL apps, and their names will be highlighted in Green.
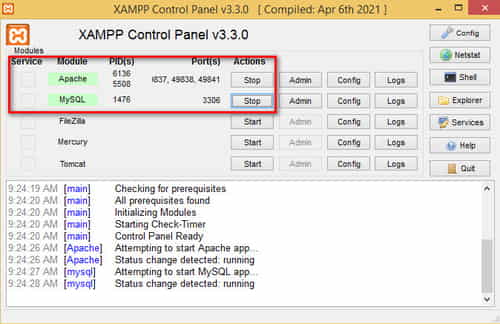
Now your local web server is ready and running, you can create a local website by installing WordPress locally.
Create a Local WordPress Site with XAMPP
First, go to WordPress.org and download WordPress. It will be a zip file. Use any zip file extractor tool to extract the content.
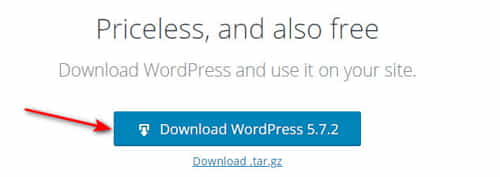
You will see a WordPress folder with the file version like (example) WordPress-5.7.2. Inside that folder, you will see another folder named WordPress you need to copy this folder.

Now go to the XAMPP installation folder and paste the WordPress folder inside htdocs folder
In Windows, it would be C:/XAMPP/htdocs folder or C:/program files/XAMPP/htdocs.
On a Mac, it would be in /Applications/XAMPP/htdocs folder.
To identify your local WordPress installation it is recommended that you rename the WordPress folder. For this tutorial, I renamed it wpstaging. This is not necessary but to help you identify your local WordPress site.
Install WordPress Locally
Next, open your web browser any browser you use. I prefer Google Chrome and enter the following URL in your browser’s address bar.
https://local/wpstaging/
Note: If you renamed the WordPress folder to something else, then replace wpstaging with your own folder name.
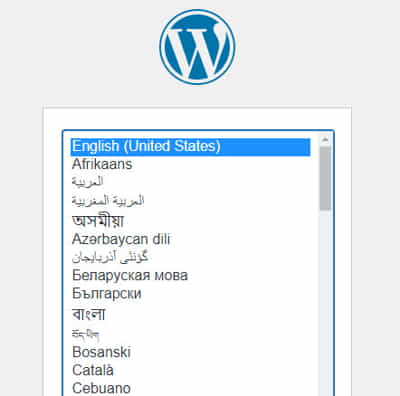
Press enter, this will load the WordPress installation wizard. You will be asked to select a language. Select and click on the continue button.
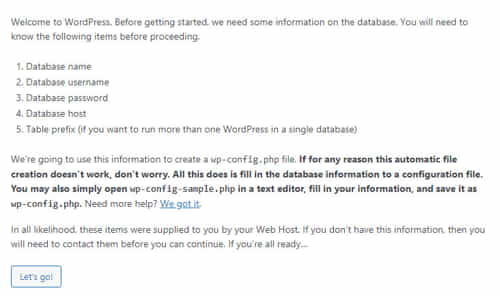
On the next screen, you will see a notice “Welcome to WordPress. Before getting started, we need some information on the database. You will need to know the following items before proceeding.” Click on “Let’s go” and keep this browser tab open.
Create a database for your Local WordPress Site
Open a new tab on your browser and type the following
https://localhost/phpmyadmin/
Press enter this will launch the phpMyAdmin app it allows you to manage your databases.
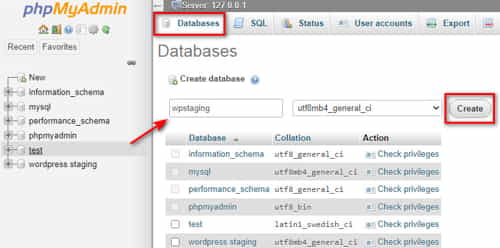
On the top click on “Databases” and give a name for your new database then click on the “Create” button to continue.
Your database is now created, now go back to the previous browser tab which should still be open.
https://local/wpstaging/
On this screen, you will need to provide your WordPress database information.
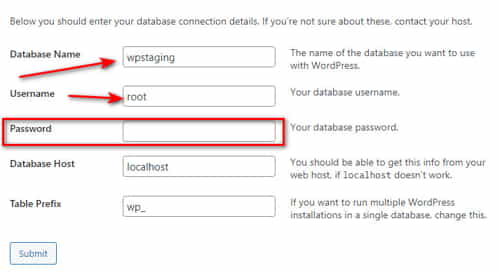
Enter the database name you created earlier, in this case, “wpstaging”. Your user name will be “root”, keep the password field blank.
Do not change the Database Host and table prefix. Then click on the “Submit” button to continue. On the next screen click on“Run the installation”
In the next step of WordPress installation, you will need to provide information about your Site Title, Username, password, and email address for your wp-admin account.
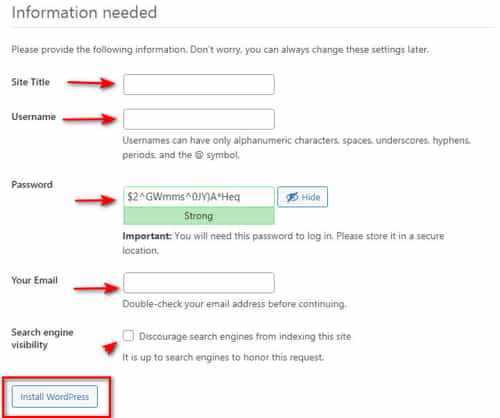
Once you have filled up all the information above, click on the “Install WordPress” button. WordPress will now be installed on your computer and will show a “Success! WordPress has been installed Thank you and Enjoy!”
Click on the “Log in” button.
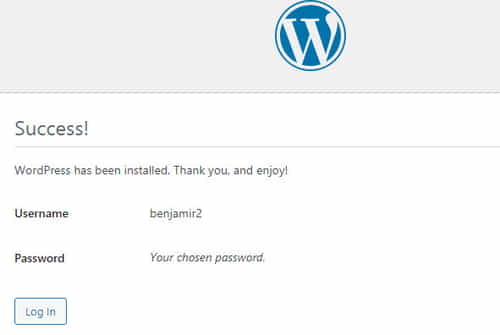
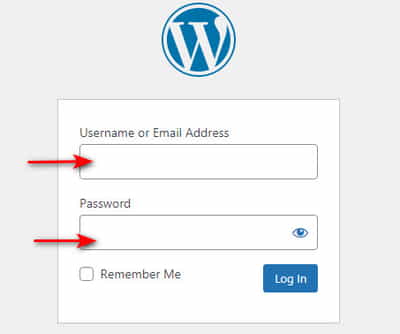
Next, you will get the wp-admin login screen. Enter your user name and password you created earlier and log in. You will be in the wp-admin dashboard of your locally installed WordPress site.
Conclusion:
The process of creating a local WordPress site on your computer may seem long and difficult, but it’s very easy with XAMPP.
Now that you have successfully created a local WordPress site on your computer with XAMPP, you can work on it as you would do on a live WordPress site.
Install a new theme, plugin and try to customize your site, and also learn how to use and run a WordPress site like a pro.

Hello! I am Ben Jamir, Founder, and Author of this blog Tipsnfreeware. I blog about computer tips & tricks, share tested free Software’s, Networking, WordPress tips, SEO tips. If you like my post /Tips then please like and share it with your friends.

